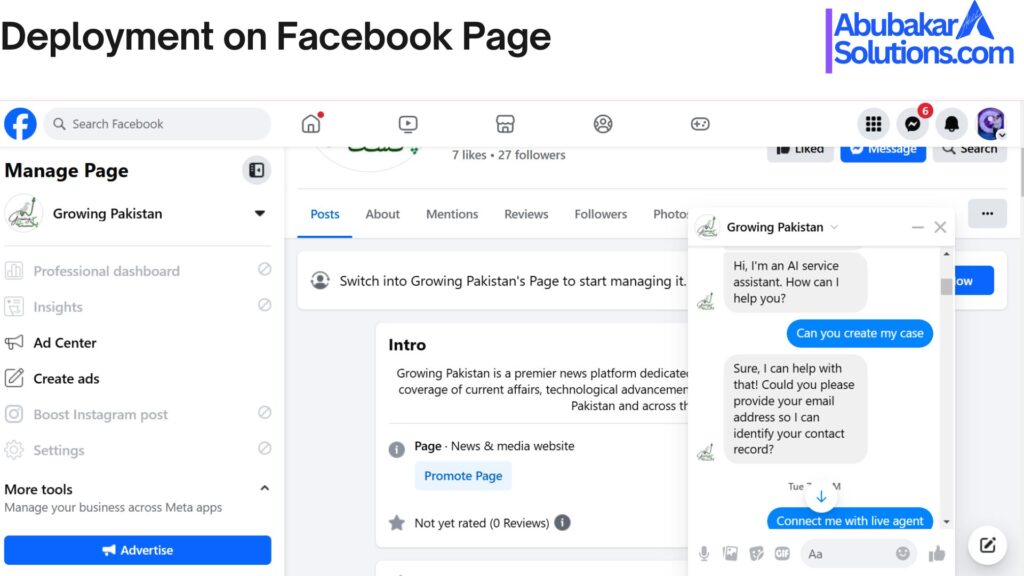
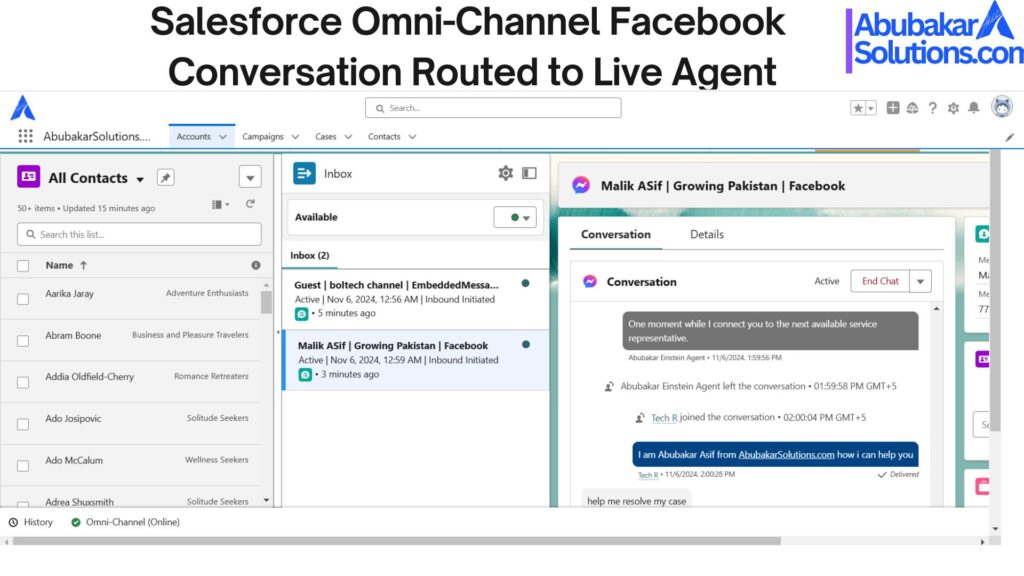
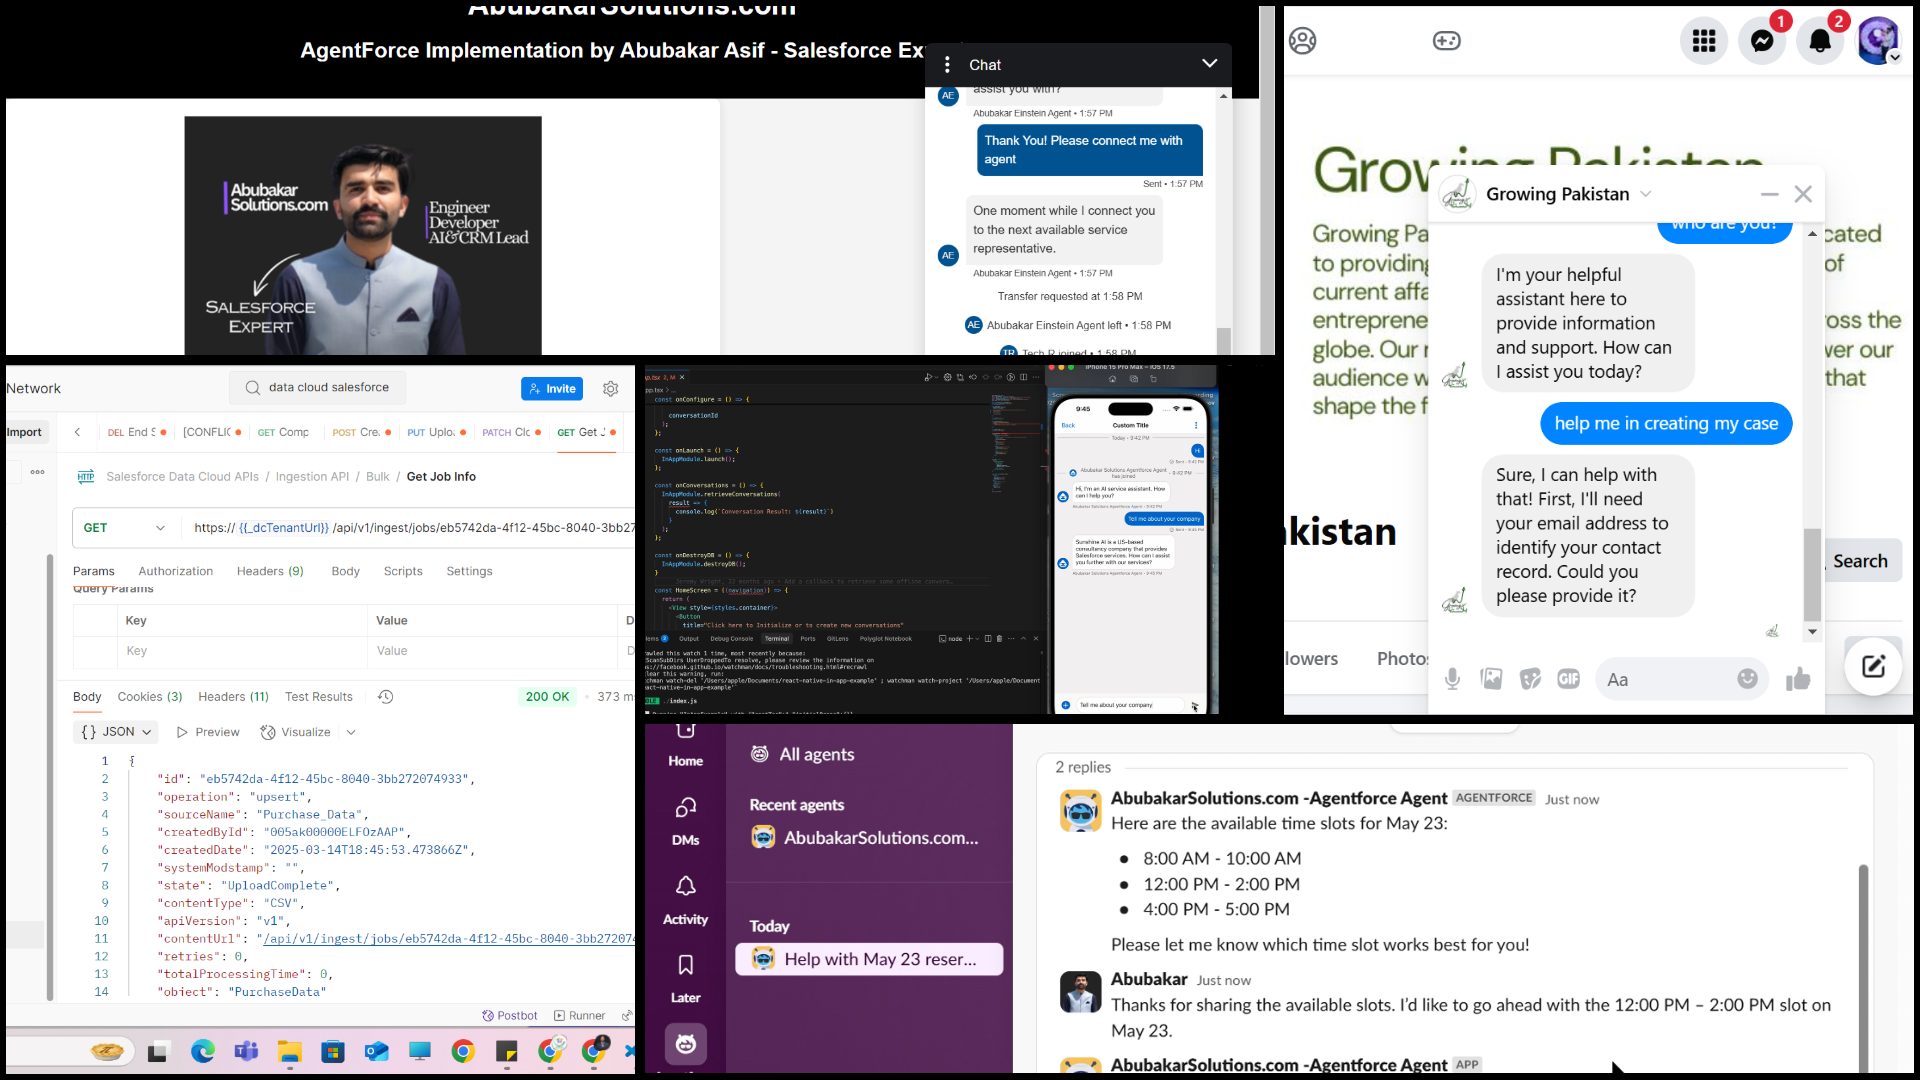
With the rise of digital customer engagement, Salesforce AgentForce provides a powerful solution for handling customer inquiries across platforms, integrating AI and live service agents for seamless support. In this post, I’ll guide you through implementing AgentForce on both a personal website and Facebook, focusing on multi-agent routing and skill-based live service representative routing.

Steps For Implementing AgentForce Service Agent

Here’s an overview of my approach to implementing Salesforce AgentForce, from planning to deployment:
Step 1: Planning and Defining Agent Goals
I began by carefully planning what I wanted my Salesforce Agent to accomplish. This included listing out specific actions, responses, and tasks I wanted the agent to perform for users. Once I had a clear vision, I finalized the key functionalities and mapped out what each interaction should achieve.
Step 2: Designing Actions and Flows
With my goals in place, I moved on to determining how my agent would achieve them. I identified necessary actions, such as handling user inquiries, automating responses, and escalating cases when needed. I then designed custom flows, Apex classes, and prompt templates to support these actions, ensuring the agent would be equipped to handle each task efficiently and intelligently.
Step 3: Agent Creation and Configuration
After setting up the framework, I created the Agent in Salesforce. Here, I defined essential configurations, such as:
- Instructions to guide the agent's responses,
- Topics that structured the scope of queries it could handle,
- Limitations to ensure the agent would escalate cases as needed,
- Assigned Actions for each topic to drive relevant responses.
Step 4: Configuring Live Service Routing with Omni-Channel Flow
To add a human touch, I set up an Omni-Channel Flow for live service representative routing. This feature allows incoming inquiries to be routed based on agent skills, so users get directed to the best-qualified representative for their issue when live assistance is necessary.
Step 5: Testing in Agent Builder
Before full deployment, I tested the agent thoroughly in Agent Builder. This allowed me to verify that the agent could handle various inquiries and route cases accurately based on the configured rules.
Step 6: Setting Up Messaging Channels
Once satisfied with the testing, I created Messaging Channels for both "Web and App" and Facebook Messenger. I assigned my Omni-Channel Flow to each messaging channel, ensuring consistent routing and behavior across platforms.
Step 7: Deploying via Embedded Service
Finally, I set up Embedded Service Deployment to make my agent accessible on my website. This integration allowed me to fully deploy the agent and conduct additional testing directly on the live site.
Outcome
The deployment worked as planned, with the agent performing actions smoothly, routing cases effectively, and providing a responsive experience across platforms.

Revolutionizing Your Salesforce Success with AgentForce Service Agent - Demo


